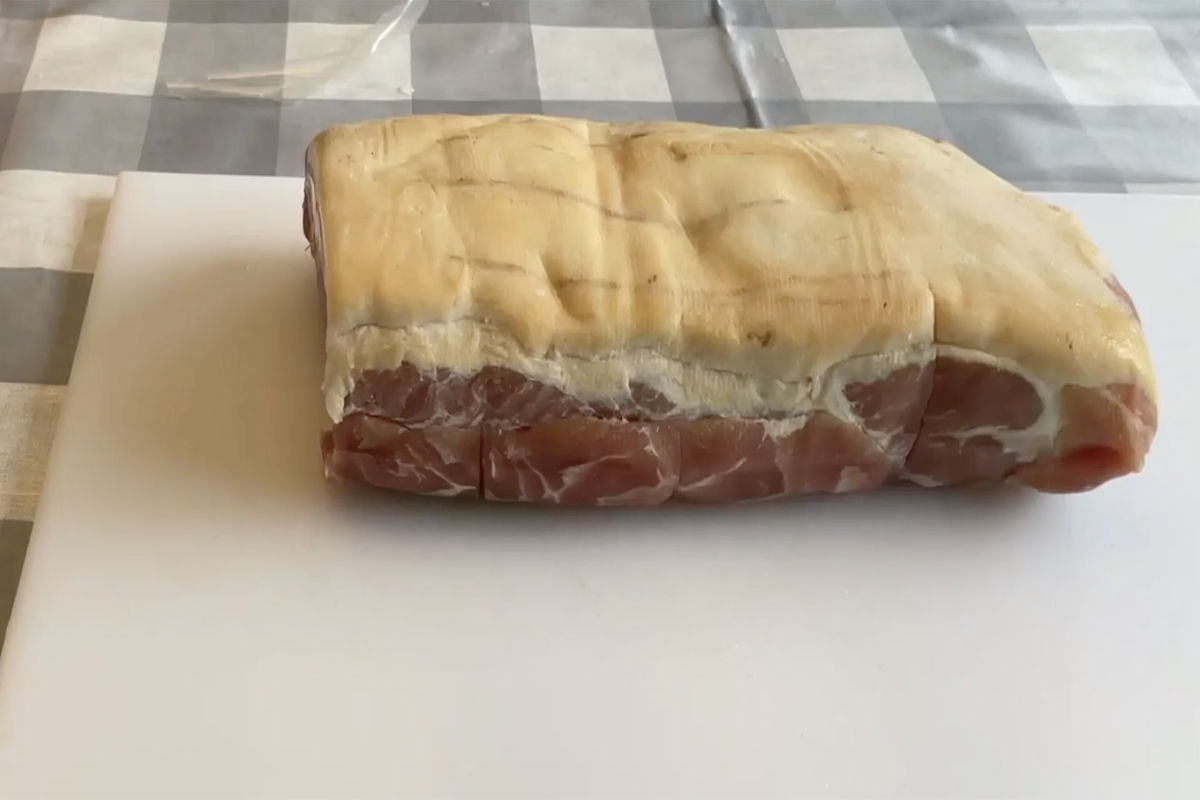
There’s nothing quite like the deep, smoky aroma of home-cured, cold-smoked bacon. While commercial smokers can be pricey and take up loads of space, you can achieve that same mouthwatering flavor using something as simple as a cardboard box. Yes—really!
Here’s how to turn a humble cardboard box into your own budget-friendly cold smoker.
Why Cold-Smoke?
Cold-smoking is all about flavor enhancement, not cooking. Unlike hot smoking, which raises the meat’s temperature and cooks it, cold-smoking infuses your bacon with smoky richness while keeping it raw—perfect for later pan-frying to crispy perfection. The trick? Keeping temperatures below 90°F (32°C).
What You’ll Need
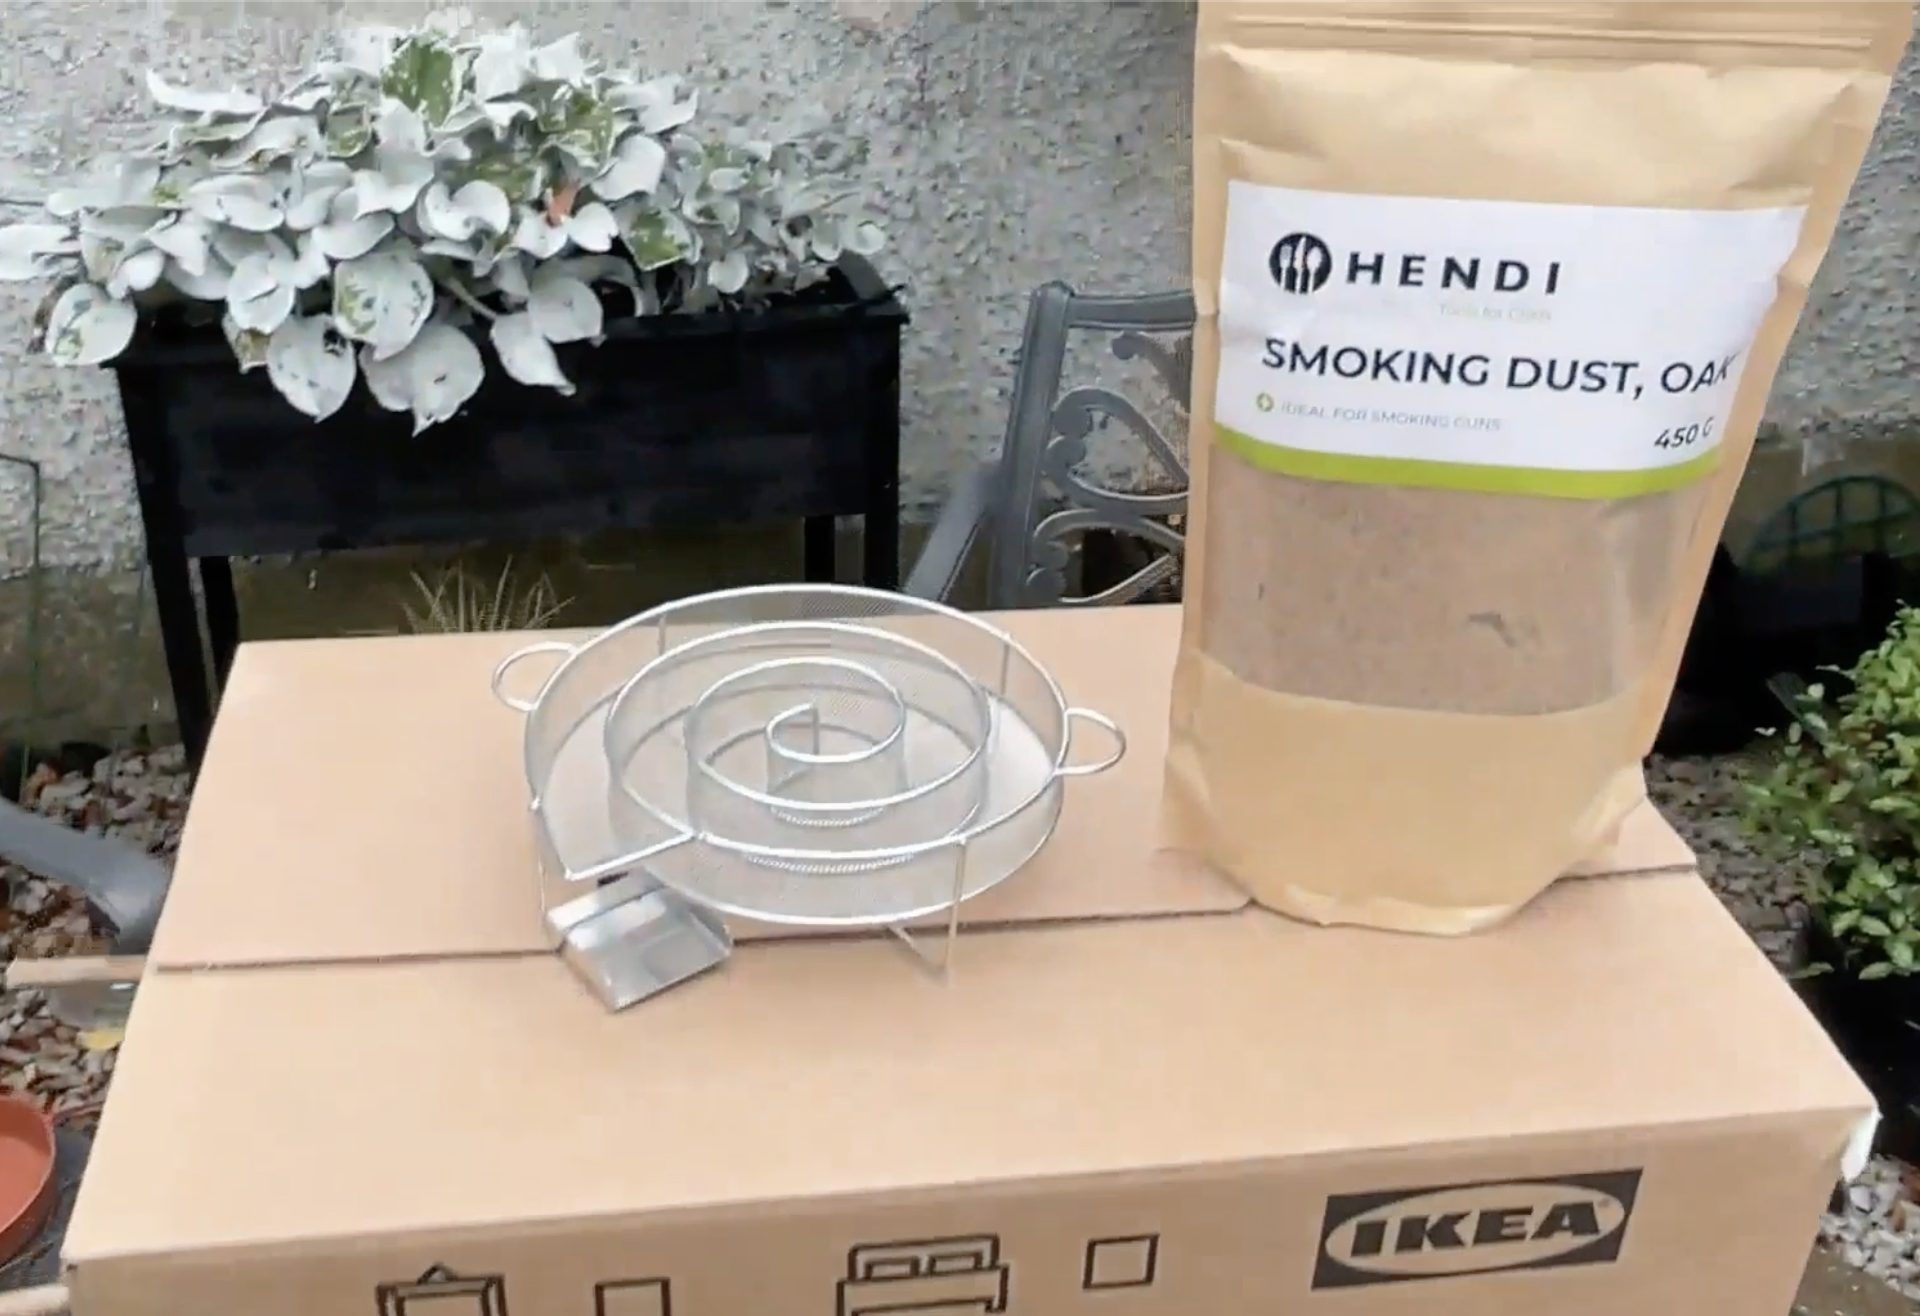
- Cardboard box – Just a plain, clean one. Avoid boxes that once held chemicals or strongly-scented products. I picked mine up from Ikea to be sure it was scent-free.
- Smoking spiral – I grabbed a budget-friendly version for €10 on Temu, and it worked great. (See video for details.https://www.youtube.com/watch?v=8ZXYjtj4Xf4)
- Wood chips or sawdust – Applewood, hickory, and cherry are popular choices. Try different woods to explore unique flavor profiles.
- Wire rack or skewers/dowels – For hanging or laying out your bacon inside the box.
- Meat thermometer – Crucial for keeping your setup safely in the cold-smoking temperature range.
- Pre-cured bacon – You’ll need to cure your pork belly or loin in a salt-sugar mix for about 7 days before smoking.
- (Instructions and curing video linked.https://www.youtube.com/watch?v=fRrlh7lx06c&t=3s)
Step-by-Step Instructions
1. Build Your Box Smoker
Pick a cardboard box large enough to hold your bacon without crowding. Punch a few small holes in the sides for airflow. Inside, insert a wire rack or hang skewers across the top to suspend the bacon.
Pro tip: Make sure your bacon is dry before smoking—smoke doesn’t stick to wet meat. Let it dry in a fridge or cool room for 2–3 days.
2. Prepare the Smoker
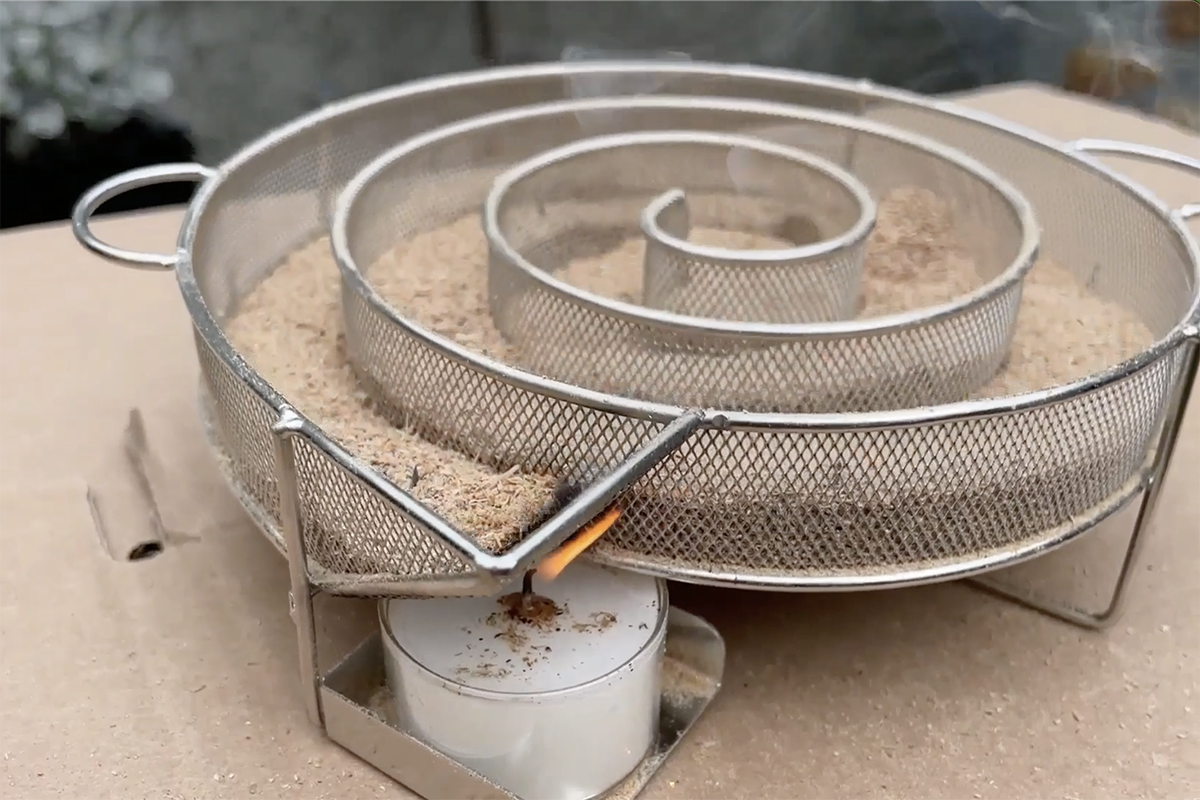
Fill your smoking spiral with your wood chips of choice. Light one end—use a blowtorch or hold a tea light against it for 30–40 seconds to get it going. Place the spiral in the bottom of the box, away from where the bacon will hang.
Remember: You’re generating smoke, not heat.
3. Keep It Cool
Use your meat thermometer to make sure the box stays under 90°F (32°C). On warmer days, smoke early in the morning, in the evening, or add a bowl of ice to the box to help lower the temp. Too much heat, and you’ll start cooking the bacon—definitely not the goal.
4. Smoke the Bacon
Hang or lay your bacon inside the box, close it up (leave a few vents for smoke to escape and circulate), and let it smoke for 4–8 hours. You can adjust the duration based on how intense you want the smoke flavor. Keep an eye on the sawdust and replenish as needed to maintain steady smoke.
5. Let It Rest
Once done, remove the bacon and let it rest in the fridge for at least 24 hours to allow the smoke flavor to mellow and develop. I like to wrap mine in muslin cloth and leave it in the garden shed to age slightly—it makes a world of difference.
Tips for Better Bacon
- Experiment with woods – Cherry wood adds a sweet touch, while hickory is bold and classic.
- Watch the weather – Cooler days make cold-smoking safer and more effective.
- Ventilation is key – Always make sure your smoker setup is well-ventilated. Even cardboard boxes can pose a hazard if smoke builds up.
It Takes Time
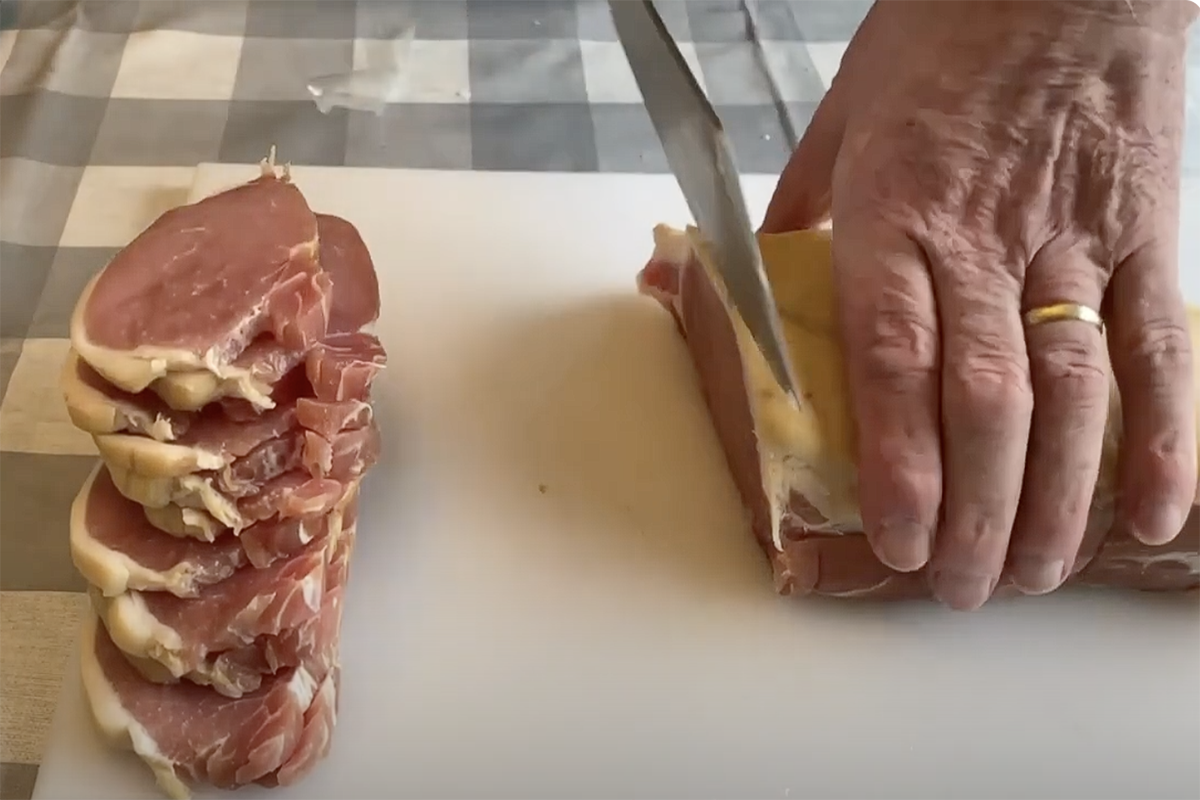
Cold-smoking your own bacon doesn’t require fancy gear—just a little creativity, patience, and an appetite for incredible flavor. A cardboard box smoker is a surprisingly effective and budget-friendly way to dip your toes into the world of smoking meats.
Video Notes
In the video, I used a home-cured pork loin (cured for 5–6 days, dried for 2–3). Drying is essential—smoke won’t adhere to a wet surface. If your bacon feels wet, the smoke will just wipe right off.
The smoker spiral cost me €10 on Temu, but you can find premium versions too. Just make sure your sawdust is clean—no paint, varnish, or resin. Always use wood meant for food smoking.
Leave a Reply